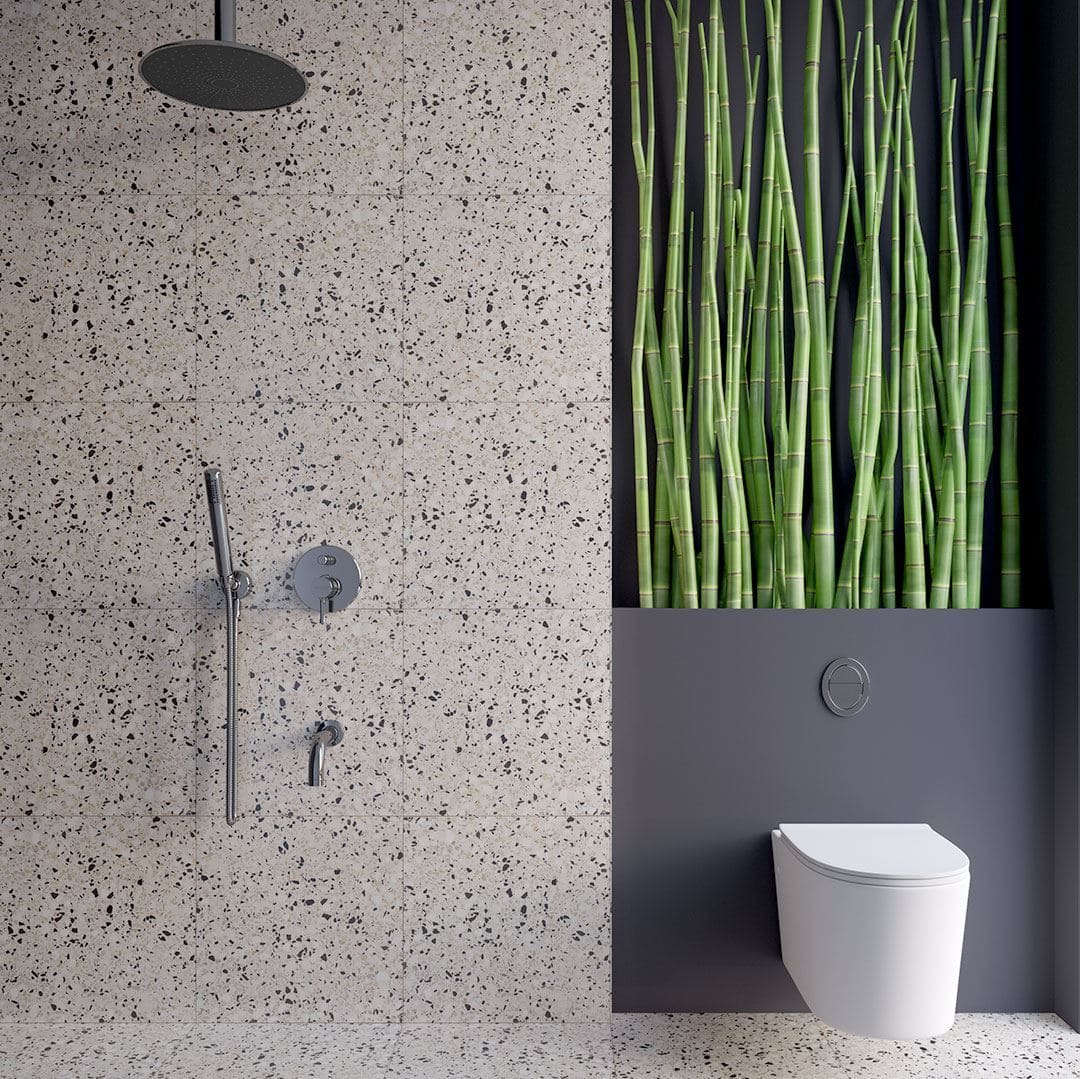
How to install terrazzo tiles?

Terrazzo floor tiles are becoming increasingly popular as they provide an attractive, hard-wearing floor. Previously, terrazzo floors were only available as a solid piece created on-site. Now, however, Terrazzo floor tiles let you have the advantages of this flooring option wherever you wish.

Installing Terrazzo floor tiles is not difficult. Follow these steps to create a flawless and professional-looking finish.

1. Measuring

Calculate the square footage of your room by multiplying the width by the length. If you have alcoves or a chimney breast, work out the area of these parts separately and add or subtract it from your total. Add ten per cent to your total figure to cover any tile waste. Correct measuring is essential to ensure you purchase the correct number of tiles.

2. Preparations

Terrazzo floor tiles must be laid onto a concrete subfloor. If your subfloor is made of wood you will need to install a concrete board before tiling. Use thinset between the floor and the concrete board and also use screws or nails to attach it securely to the wooden subfloor. Make sure your finished surface is free of any irregularities before laying your terrazzo floor tiles.

Terrazzo

3. Where to start

Mark a chalk line across the room from the centre of each wall. Where these intersect is the centre of the room. Start laying your tiles from this intersection outwards.

4. Laying terrazzo tiles

Evenly spread an area of about one square meter of thinset using your trowel. Make sure that the surface is as smooth as possible. Place your first tile at the marked intersection. Place a tile spacer in each corner of the tile. Place your next tile directly against the spacers. Keep adding spacers, applying thinset, and laying tiles until you reach the wall.

5. Cutting terrazzo tiles

Your tiles will probably not exactly reach the wall, so you must cut one to size. Carefully measure the size you need using tape. Cut the tile using your wet saw. Set the tile in the remaining space.

5. Grouting

Let your tiles sit overnight to allow the thinset to set hard. Remove your tiles spacers. Use a grout float to apply the grout. Ensure that all of the joints are evenly filled with grout. Use a wet sponge to clean the tiles and remove excess grout from the joints.
Your terrazzo floor tiles are now installed and ready for cleaning, polishing, or sealing as required.

Terrazzo

Terrazzo: Ideal for your garden and terraces

Terrazzo tiles are the perfect choice to transform your garden or terrace into a beautiful relaxing place with a luxury feel. However, they not only look fantastic but are also extraordinarily hard-wearing and of unparalleled quality.

Terrazzo

How to install terrazzo tiles?

Terrazzo floor tiles are becoming increasingly popular as they provide an attractive, hard-wearing floor. Installing Terrazzo floor tiles is not difficult. Follow these steps to create a flawless and professional-looking finish.

Register and create your company account to ORDER YOUR FREE SAMPLES!